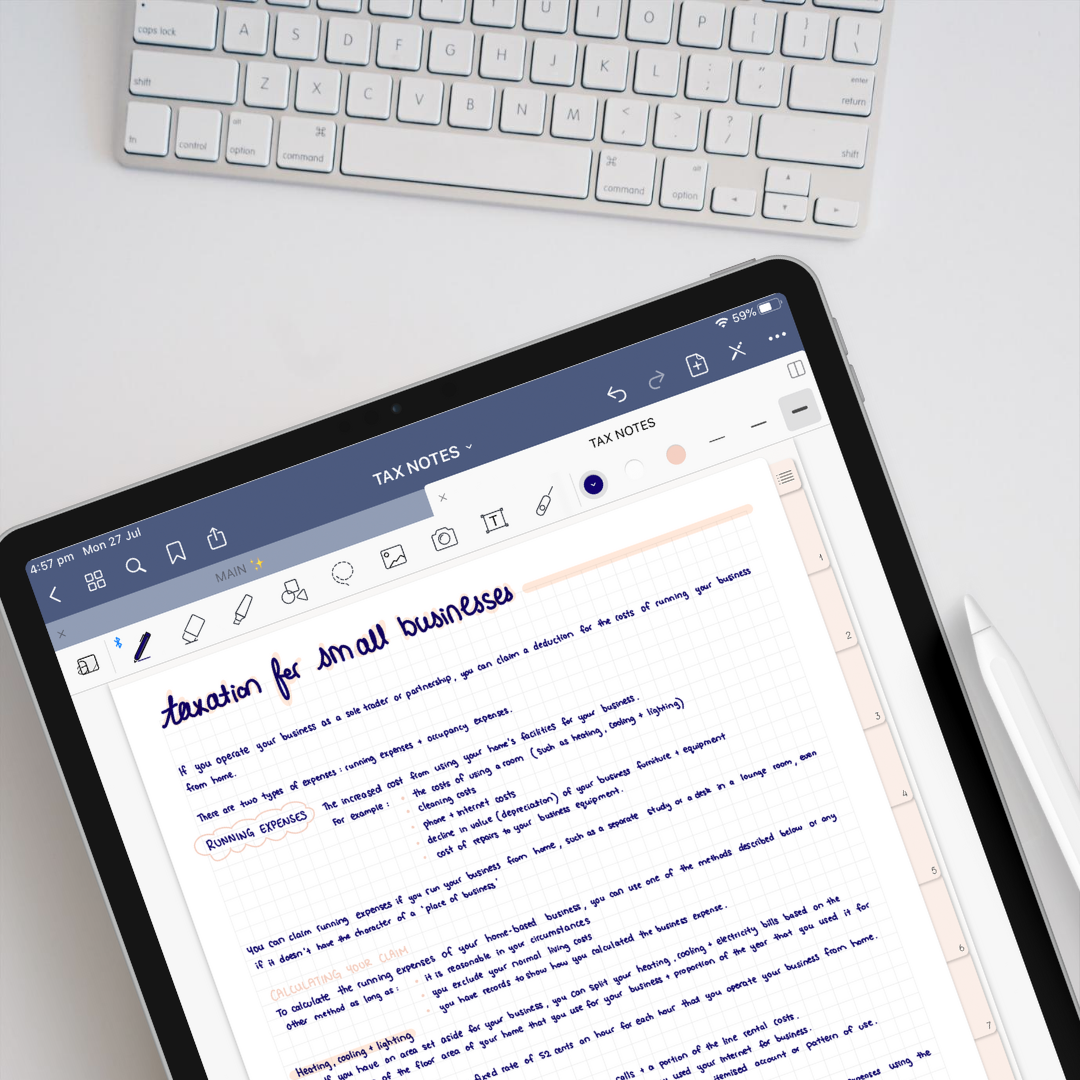
So you’ve finally made the decision to switch to digital planning and note-taking but your handwriting looks a little awkward on the screen?
Well, you’re not alone!
That was what happened with me when I first started digital planning, and I am sure many others were in a similar situation as well.
If you are keen to go paperless but your writing is just not .. cute, don’t stress!
It IS possible to write neatly, if not neater, on your iPad.
Below are some of my top tips and tricks to help you improve your handwriting on your iPad:
Experiment with different Pencil settings (line thickness and pen style)
Okay this might seem obvious but writing with different pen settings (such as line thickness and pen style) can really determine if your handwriting will be presentable.


For example, my writing just ain’t cute when the line thickness is too thin or too thick, am I right?
With the digital planner that I use, my ideal line thickness is 0.3 mm. But that may differ for you!
The stroke thickness can be adjusted in 0.05 mm increments/decrements in GoodNotes 5.
My suggestion is to start with the default thicknesses and get a feel for which one out of the 3 you feel most comfortable with. Then adjust accordingly!
Zoom in
I don’t know about you but I cannot write on my iPad without zooming in. Even zooming in just a little helps SO MUCH. It just gives me so much more control and I can write with better precision.
To zoom in and out, simply use two fingers to pinch in or out.
You can also use the magnifying tool/zoom window if that makes it easier for you!
Try Using Pencil Grip
If you are using the Apple Pencil (like me), it can be difficult to get a good grip or feel comfortable holding it while writing. This can adversely affect your handwriting appearance.
You can get ergonomic grips which will enhance your writing and could also reduce hand aches when doing a lot of writing.
Use a Matte/Paper-like Screen Protector
Applying a matte screen protector can work wonders for your handwriting. The screen on the iPad/tablet is a lot more smoother and has less friction than paper which makes it a different writing experience than what you are used to.
When writing on a matte screen protector, you will feel like you are writing on actual paper. Because of it’s paper-like texture, you will get more of a resistance when writing on the screen. Many digital planners and note-takers agree that it can make a HUGE difference when it comes to writing digitally!
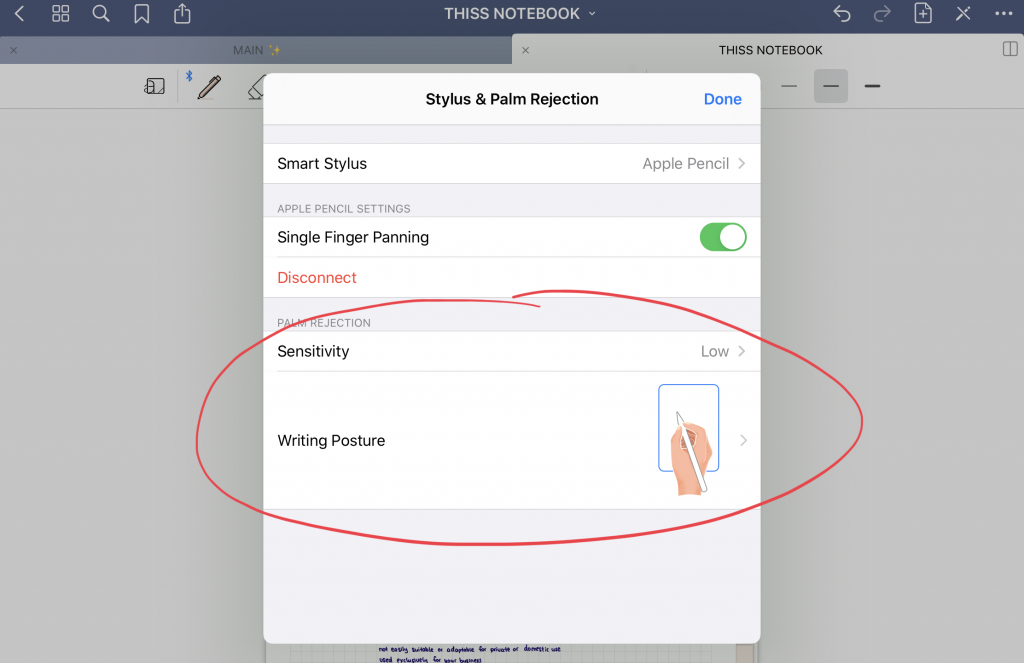
Adjust the Pressure Sensitivity and Writing Posture Setting in GoodNotes
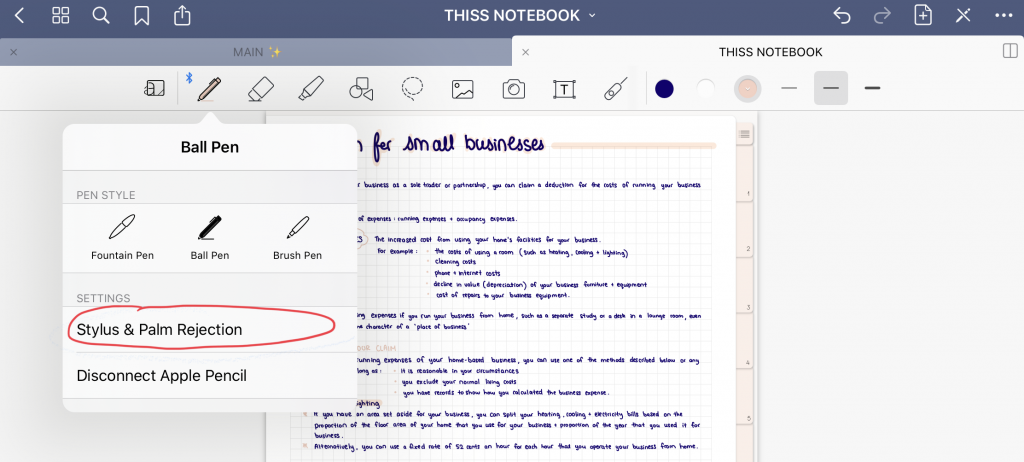
If you use GoodNotes for your digital planning, there are “palm rejection” settings you can play around with.
This is located by tapping on the “pen” icon and then selecting “Stylus & Palm Rejection” under settings.


Play around with your Hand Positioning and your Pen Grip/Hold
How you place your hand and the way you grip your Apple Pencil may simply feel more comfortable in a different position than you are used to. So, don’t be afraid to experiment with different hand positioning and pen grip!
You may find that you prefer writing when your iPad is in a certain orientation. For example, I feel more comfortable when I write when my iPad is in landscape orientation.
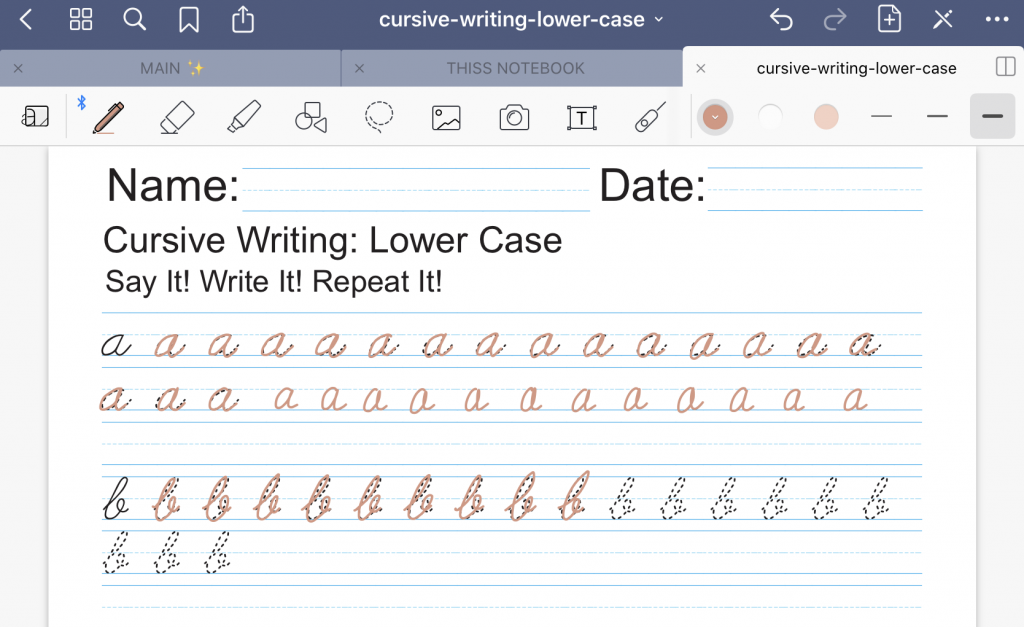
Use Practise Sheets or Apps
If you do a quick search on Google or Pinterest, you will be able to find lots of free writing practise sheets you can download. Practising on these sheets will help you learn how to write on the iPad better.
Practise writing the same words or letters over and over again!
Writing on a screen is a completely new experience after all, so it’s not surprising that you may need to re-learn a skill.


Another benefit of doing these sheets is that it’s very relaxing, at least, for me it is!
Write Small
If you want your writing to be big in size, for a title or heading for example, write small first and then resize it to a bigger size. Writing small gives you better control and will help make your handwriting look neater.
Write on Lines
I find that writing on lines, grids or guides improves my handwriting so much. It helps me write straight and keeps my letters similarly spaced.
Some note-taking apps have a feature where you can toggle lines/grids on/off. However, the app I use (GoodNotes) does not yet have this feature.
To counteract this issue, when I need to write in a blank space, what I do is use the highlighter feature to draw in my lines.
There is a setting which you can choose if you want the highlighter to draw in a straight line. After you are done writing and using the highlighter lines as a guide, you can erase the lines only by selecting the “Erase Highlighter Only” option on the eraser!
Experiment with your Writing Style
You may need to switch up your writing style, so experiment with what you are comfortable with. If you are used to writing cursive on paper, you may feel more comfortable writing separated letters on your iPad. For me, I used to always write cursive but I just couldn’t get it to work on the iPad. I find that writing in capital letters yields the best results for me!
Writing neatly and improving your handwriting on your iPad is all about trial and error and having patience! If you keep practising and using the tips above, you will be writing neatly and faster in no time!
Write slowly in the beginning and don’t give up! It took me around 2 weeks to finally be happy and feel comfortable with writing on my iPad (and now that I’ve gone paperless, it actually feels funny and strange writing on paper).
